3D enclosure printing gives designers the freedom to design. It allows the designers to take a print of the prototype within hours. Moreover, it is cheaper while comparing to the traditional manufacturing methods.
The 3D printed enclosures provide an effective method and the materials, which are made used for printing enclosures are best for end-use applications.
Technologies Used for 3D Printer Enclosure
The main applications and technologies used in 3D printing in Chennai are:
Application- Rapid Prototyping :
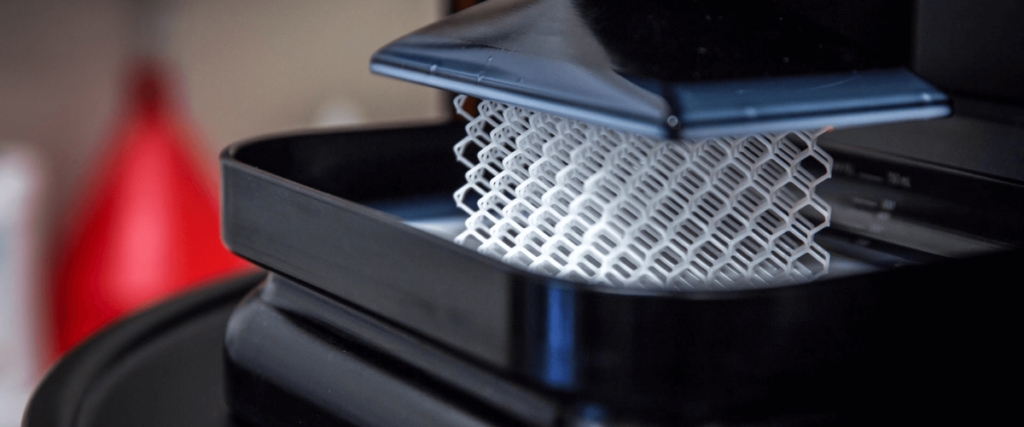
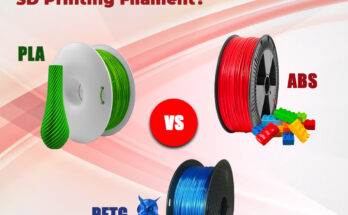
Prototyping plastics is the fastest and most cost-effective method of printing enclosures. The printing technology used in FDM.
Application- High Temperature :

Heat-resistant plastics remain stable up to a temperature of 100℃ after thermal post-treatment. Different materials provide different temperature resistance.
Application- Flexible Material :
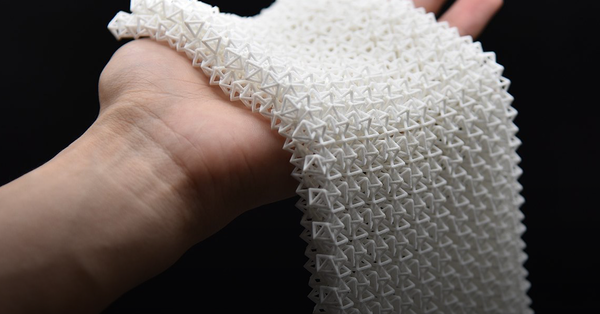
Flexible enclosures enable button pressing and motion of switches via the sealed case. When it comes to this, the FDM machines use TPU Materials to create flexible parts
How to Design 3D Printed Enclosures?
Step 1: Create the customer enclosure design
To begin with, use a digital ruler or calipers to measure the electronic component. Usually, the enclosure designs are started by reverse-engineering the PCB, the position of the mounting holes, and measuring the size of the board in an accurate manner. Then, you need to measure the maximum dimensions.
Step 2: The Bottom Enclosure
It is designed as an assembly, with every half of the enclosure modeled as a distinct part. The enclosure starts with its base half as a new part and finds out the tolerance between the perimeter of the enclosure and PCB. However, it is based on the 3D printing process that you are planning for using to 3D print parts. 3d printing services in Chennai experts will give the best manufacturing parts for your business.
If you are using an FDM 3D printer, you need to enable a tolerance level of 0.2 to 0.5 mm. With this, you can ensure the PCB will fit inside even if the walls are slightly distorted. Even we can use brass inserts to screw down the PCB to the bottom enclosure or screw up the whole assembly. For brass inserts the inserts holes should be above 4.5mm so while inserting inserts not many materials will deposit inside the brass inserts thread and outer thickness should be above 2.5mm so it will be able to accommodate in that place.
Step 3: Top Enclosure
The top section becomes easy after completing the bottom enclosure. It has the same method of cutting details for accommodating specific taller ports and adding some materials to close some gaps, which are left by the bottom enclosure. If we need to access some buttons inside the PCB counter bore design will be helpful. And use counter bore for screw holes it makes the surface looks good without any bumps. The minimum advisable top enclosure thickness will be 2.5mm for M3 screws.
Step 4: Snap Fit Joint Design
When it comes to snap-fit components, there are several designs. If you want, you can lengthen the small projection engaging into the snap cavity for creating a stronger lock based on the space you are supposed to work with.
Step 5: Adding Final Information to the Enclosure
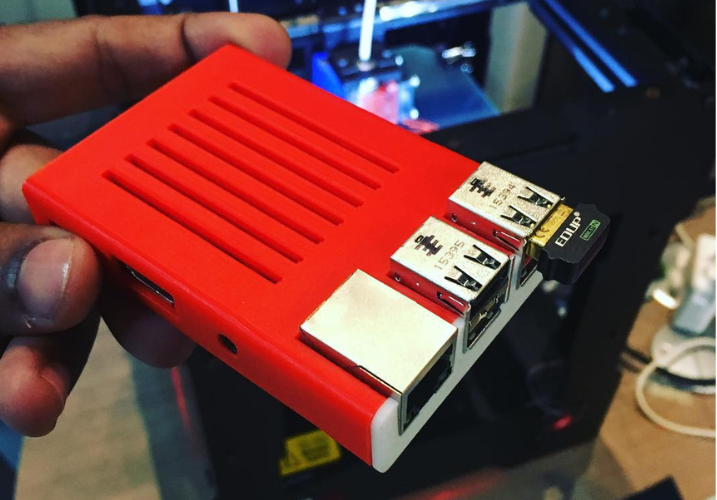
Adding extra information to your 3D-printed enclosures can make them more appealing and stunning. The information includes the location of the SD card location, logo, and much more.
Final Words
With FDM 3D printing, you will be exploring a wide array of engineering materials with which you can create 3D-printed parts, as well as prototypes accurately. Moreover, it reduces the overall costs.
Now, creating 3D printed enclosures is not a big deal as there several providers for 3d printing in Chennai. However, if you want to create it using the FDM 3D printing, contact our 3ding experts. We are one of the leading 3d printing in Chennai providing high-quality services at an affordable prices.